


There are many flavors of Linux distribution one of them is the Arch Linux. Which is very versatile, simple and cutting edge OS. It’s more suitable for advance users, but it’s also one of the best distributions for learning Linux environment for Linux beginners.
Although its Arch Linux is best and up to date Linux distribution but it’s not suitable for Linux beginners. It’s for hard core Linux users, normally when you install Arch Linux it’s installed at a minimum and requires you to configure and install packages you need. The intention behind is to keep it as simple as only installed the very basic and minimum packages that are needed to run the system.
Arch Linux has its own package manager called “Packman”. The arch Linux follow the rolling release model that means it always have the up to date repository and latest software.
The Arch Linux proved no GUI for installation so the only option for you to install Arch Linux is to command line, which makes the job of installing the Arch bit difficult.
But don’t worry in the following step by step guide on how to install Arch Linux I will make your job of installing arch Linux a breeze.
If you like you can use other options to install arch Linux at their official wiki page https://wiki.archlinux.org
Requirements:
To install Arch Linux, you need
- The installation CD image of Arch Linux (Can be downloaded from https://www.archlinux.org/download/)
- Arch Linux bootable USB or CD/DVD
- Internet connection
- Computer or VPS
Installing Arch Linux:
1- Boot from your Arch Linux bootable USB or CD/DVD. Select Arch Linux archiso x86_64 UEFI CD and press <Enter>.
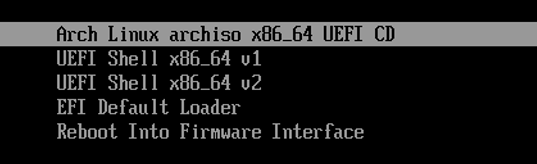
2- You should see the following window:

3- Now connect to the internet:
$ dhclient -v

4- Enable network time:
$ timedatectl set-ntp true
![]()
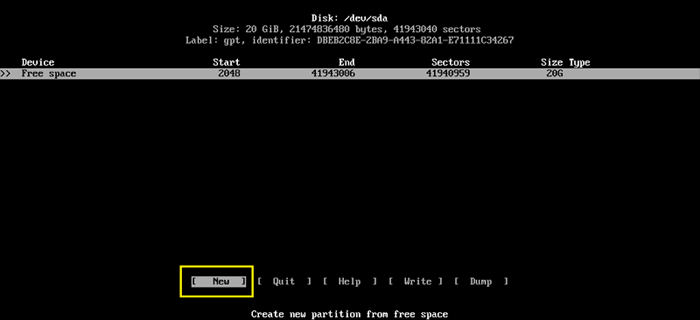
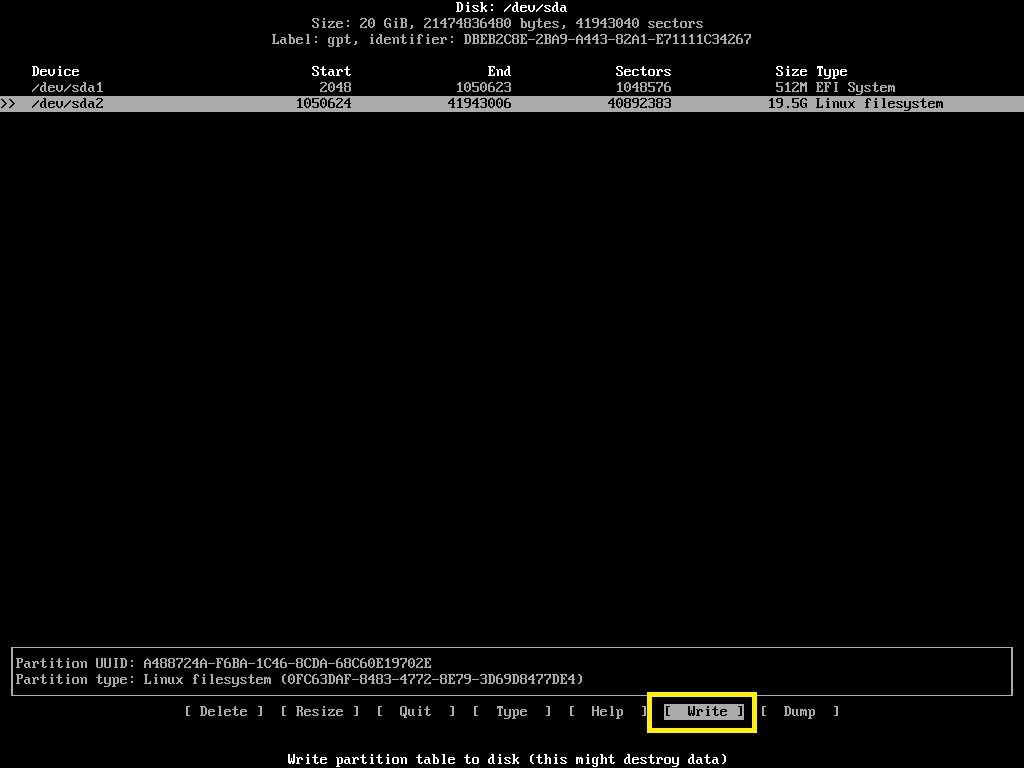
5- Now you have to partition the hard drive.
You need at least 2 partition for UEFI installation.
- EFI System Partition of about 512 MB
- Root partition, the rest of your hard drive
If you are installing for BIOS you need only one partition (e.g. root partition) . In this article we are installing arch Linux UEFI thus we need 2 partitions.
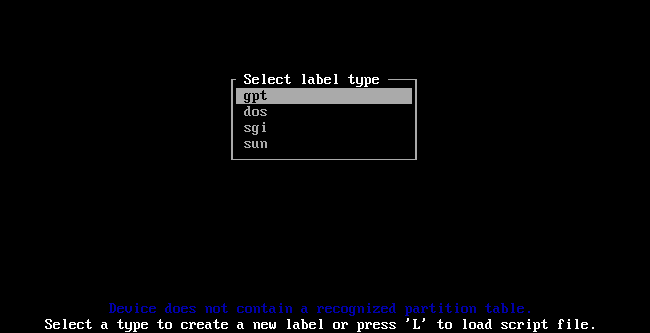
Start the partition manager:
$ cfdisk /dev/sda
![]()
6- Select gpt for UEFI based hardware and dos for BIOS based hardware. As we are install arch Linux for UEFI based system, i am going to select the first option.
7- Now create the required partitions as follows:


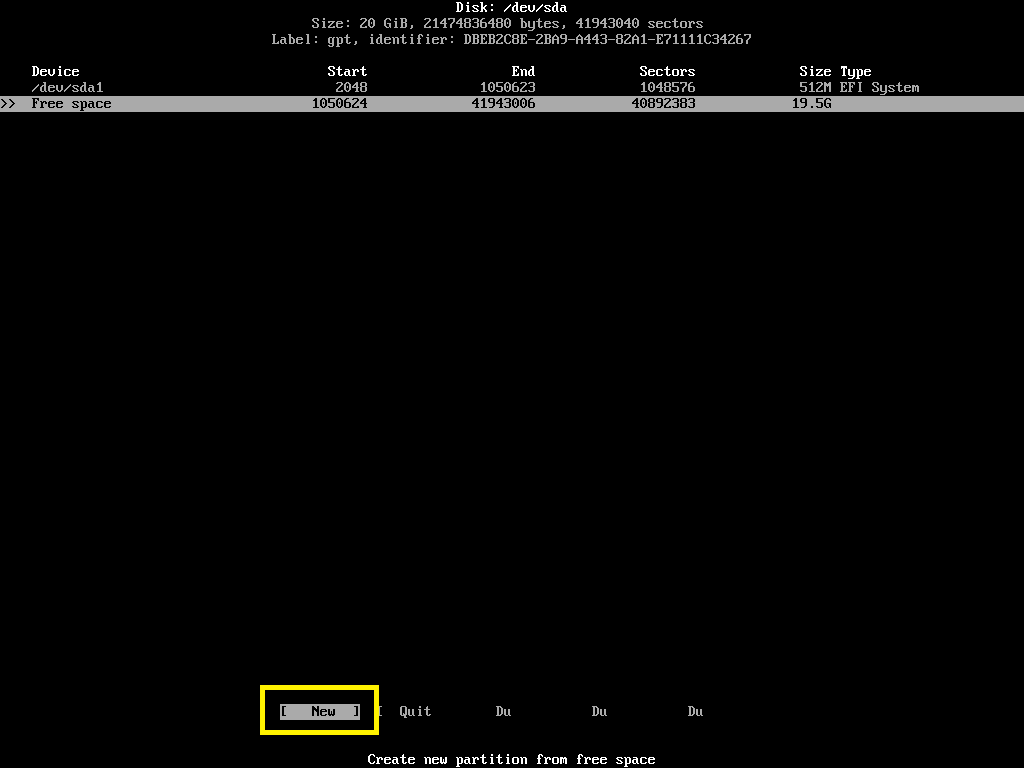


8- Format the EFI System Partition /dev/sda1:
$ mkfs.fat -F 32 -n EFI /dev/sda1

9- Format the Root partition /dev/sda2
$ mkfs.ext4 -L root /dev/sda2

10- Mount the Root partition to /mnt
$ mount /dev/sda2 /mnt

11- Make /mnt/boot and /mnt/boot/efi directories
$ mkdir -p /mnt/boot/efi
![]()
12- Mount the EFI System partition to /mnt/boot/efi
$ mount /dev/sda1 /mnt/boot/efi

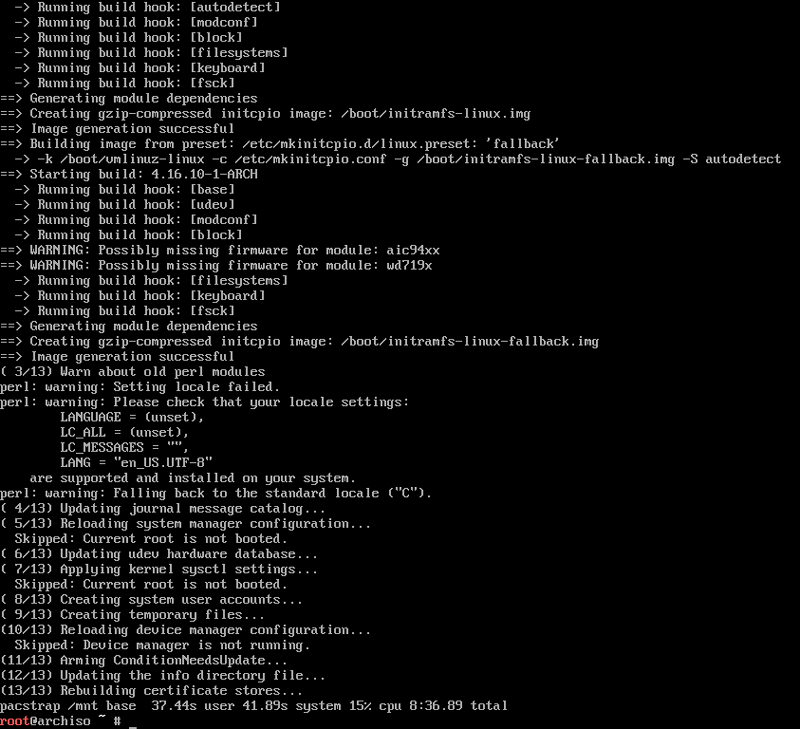
13- Now that the basic setup and configuration is done, actual Arch Linux installation will start from here.
$ pacstrap /mnt base
![]()
The installation should begin and your screen will show you something like this

At this point, the installation should be completed.
14- Generate a /etc/fstab file. If you new to Linux operating system and do not know what a fstab is and why its used, i encourage you to read this article.
$ genfstab -U /mnt > /mnt/etc/fstab

15- Chroot into the /mnt directory
$ arch-chroot /mnt

16- Set the correct timezone
$ ln -sf /usr/share/zoneinfo/REGION/CITY /etc/localtime

17- Set the system clock to hardware clock
$ hwclock --systohc
![]()
18- Set the locale to English UTF-8 character set.
$ echo "en_US.UTF-8 UTF-8" >> /etc/locale.gen

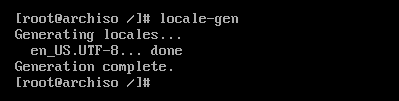
19- Now generate the locale.
$ locale-gen
20- Set the LANG variable to UTF-8 character set as well
$ echo "LANG=en_US.UTF-8" > /etc/locale.conf
![]()
21- Set your host name.
$ echo "YOUR_HOSTNAME" > /etc/hostname

22- Make your hostname DNS resolvable for IPv4
$ echo "127.0.0.1 localhost YOUR_HOSTNAME" > /etc/hosts

23- Make your hostname DNS resolvable for IPv6
$ echo "::1 localhost YOUR_HOSTNAME" >> /etc/hosts
![]()
Type in your password and press <Enter>

Retype your password and press <Enter>

Password should be set.

24- Create a new user
$ useradd -m USERNAME

Set password for the new user
$ passwd USERNAME

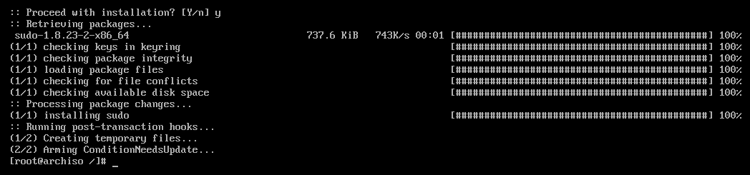
25- Install sudo
$ pacman -Sy sudo
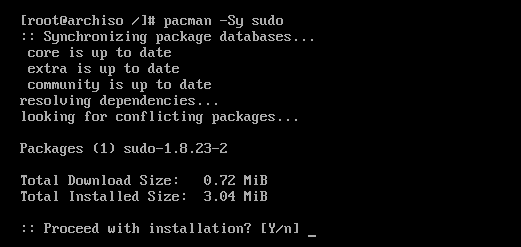
Press y and then press <Enter>
Enable group wheel to be sudoers
$ echo "%wheel ALL=(ALL) ALL" > /etc/sudoers

26- Now add your new user to the wheel group
$ usermod -aG wheel USERNAME

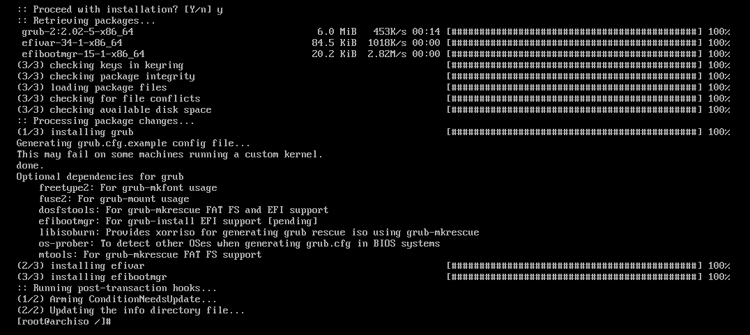
27- Install GRUB bootloader
$ pacman -Sy grub efibootmgr
![]()
Press y and then press <Enter>

GRUB should be installed.
28- Install bootloader to the hard drive
$ grub-install /dev/sda

29- Generate grub.cfg file
$ grub-mkconfig -o /boot/grub/grub.cfg

Exit out of chroot
$ exit
![]()
Reboot your computer
$ reboot

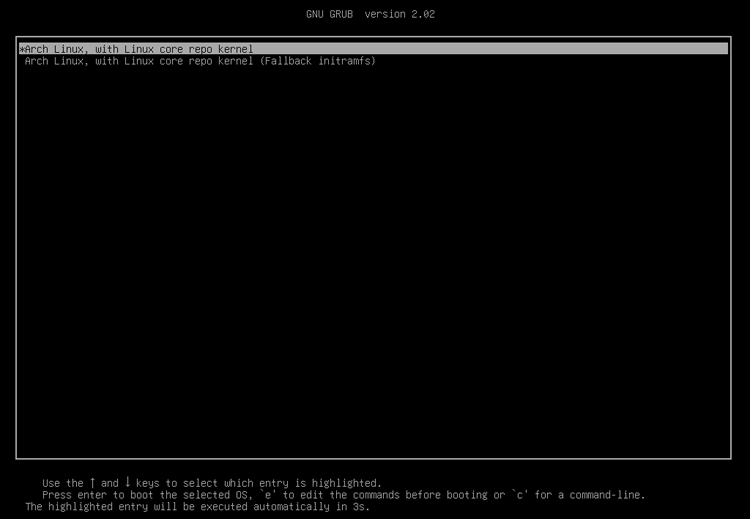
After rebooting your system, if you see something like the below screen, congratulation you now successfully install Arch Linux from USB, internet or whatever media you used to get the installation files from. You should now able to boot into your new Arch Linux operating system.
Now you can login to your Arch Linux machine as your newly created user and root

As you can see, I am logged in as my newly created user bwh.

Installing GNOME 3 Desktop Environment:
Arch Linux is a command line based operating system and by default this is the only option you can interact with your Linux. However thanks to the various GUI based environments available using which you can interact with the OS, like you do in windows.
In the next step I am going to show you how to install GNOM 3 desktop environment on your newly installed Arch Linux.
1- Find your network interface name:
$ ip link show

2- Connect to the network:
$ sudo dhcpcd ens33

3- Install GNOME 3 desktop environment:
$ sudo pacman -Sy gnome
![]()
Press <Enter>

Press <Enter>

Press y and then press <Enter>

The installation should start:


4- Change the default target to graphical:
$ sudo systemctl set-default graphical.target

5- Enable GDM service:
$ sudo systemctl enable gdm

6- Now reboot your computer:
$ sudo reboot
![]()
The GNOME 3 desktop is installed on your arch Linux, after rebooting the system you will be take to the GNOME 3 login screen, from here you can log into the system.

You should be logged in to your GNOME 3 desktop environment now. Here is the final screenshot of how it will look like after logged in.

In the End
This will conclude the article of how to install Arch Linux on a VPS or a new system. This article also discussed and shown step by step guide to installing Gnome 3 on Arch Linux. I hope you like this article.
If you follow this article properly you can install Arch Linux without any issues, if you face any error or issues feel free to leave comment and i will try to help you fix those issues. Spread love by sharing this article on your social media accounts.


")


